

The default profile screens include all attributes for the object in the order used in the directory configuration (directory.xml). You can add or remove fields, or rearrange the order of fields by using the controls at the bottom of the list of attributes in the profile screen definition.
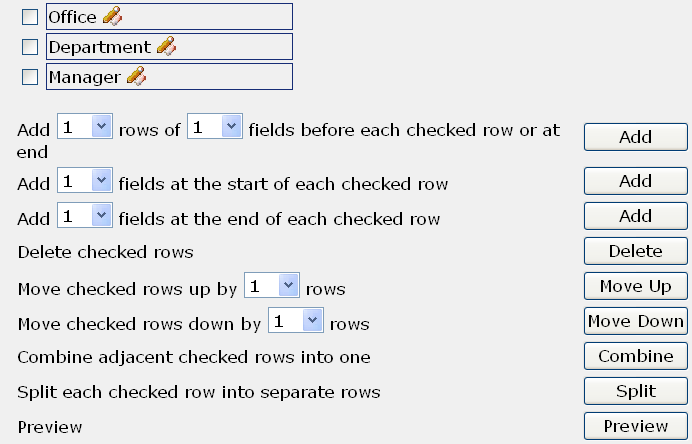
To add, remove, or rearrange fields
Note: When you edit the field properties on the profile screen, you may find it easier to manipulate rows of multiple fields as follows:
For example, if you want to move selected rows up by three rows, select 3 from the list box in Move Checked Rows Up by 1 Row.
CA Identity Manager opens a new window and displays the changes you made.
|
Copyright © 2015 CA Technologies.
All rights reserved.
|
|